Step-by-Step Guide: How to Add Pages to Your Shopify Website & Create Navigation for Them 🌟
If you’re new to Shopify, adding pages to your website and setting up navigation may seem a bit daunting, but don’t worry — I’ve broken it down into simple, easy-to-follow steps. By the end of this guide, you’ll have new pages on your site with a smooth navigation system that lets customers easily find what they need. Let’s dive in!
Step 1: Adding Pages to Your Shopify Website
- Log In to Shopify
- First, log in to your Shopify store by going to Shopify’s login page and entering your credentials.
- Navigate to Your Shopify Admin Dashboard
- Once you’re logged in, you’ll be taken to your Shopify admin panel. This is where you can manage your products, orders, pages, and more.
- Go to Pages
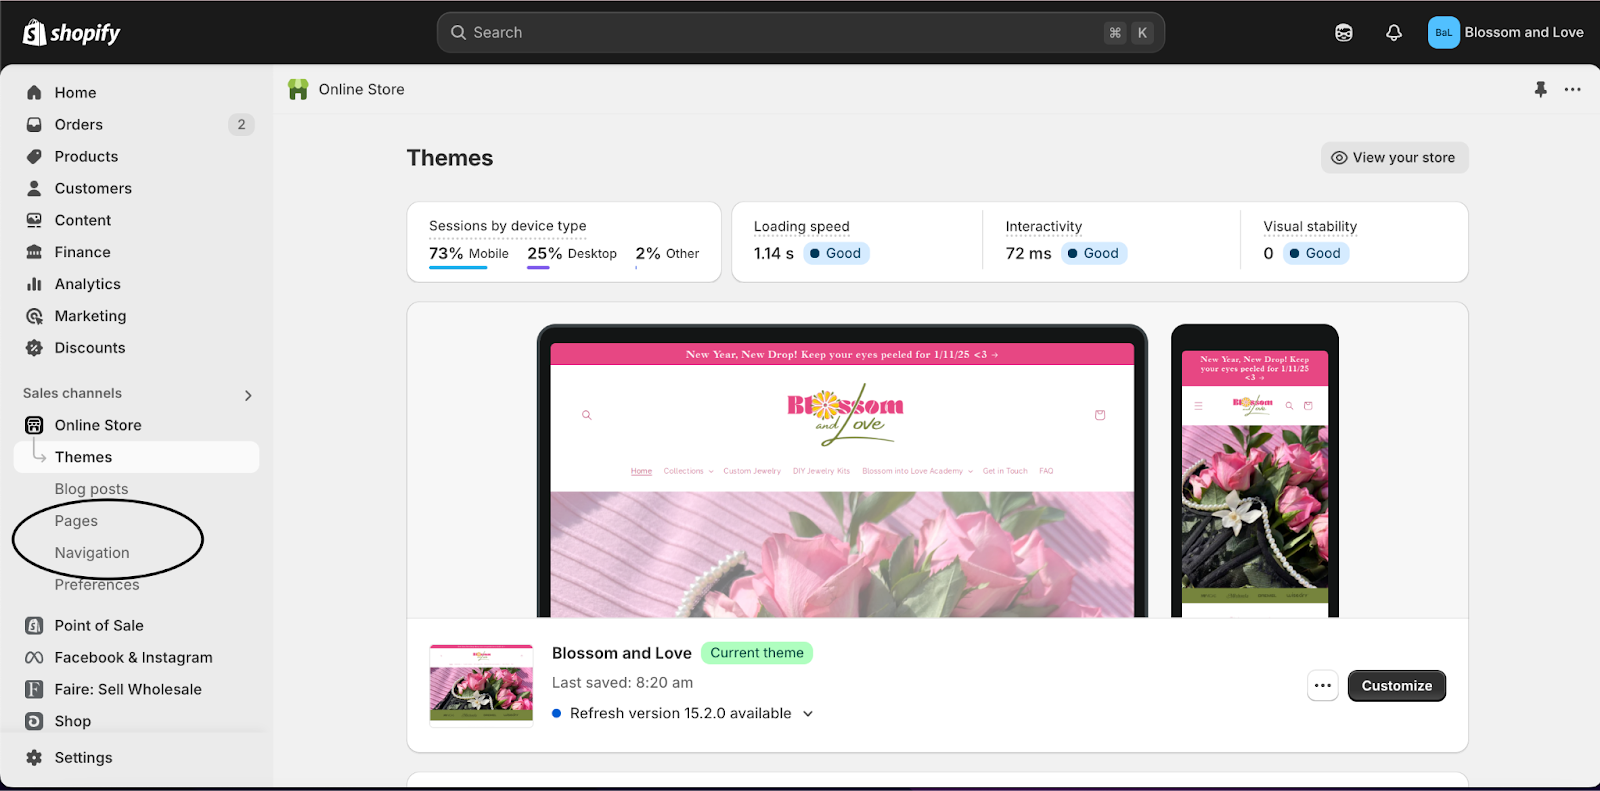
- On the left-hand side of your dashboard, find and click on the “Online Store” section.
-
Under “Online Store”, click on “Pages”. This is where all of your website pages will be listed, including the homepage, blog pages, and any additional pages you create.
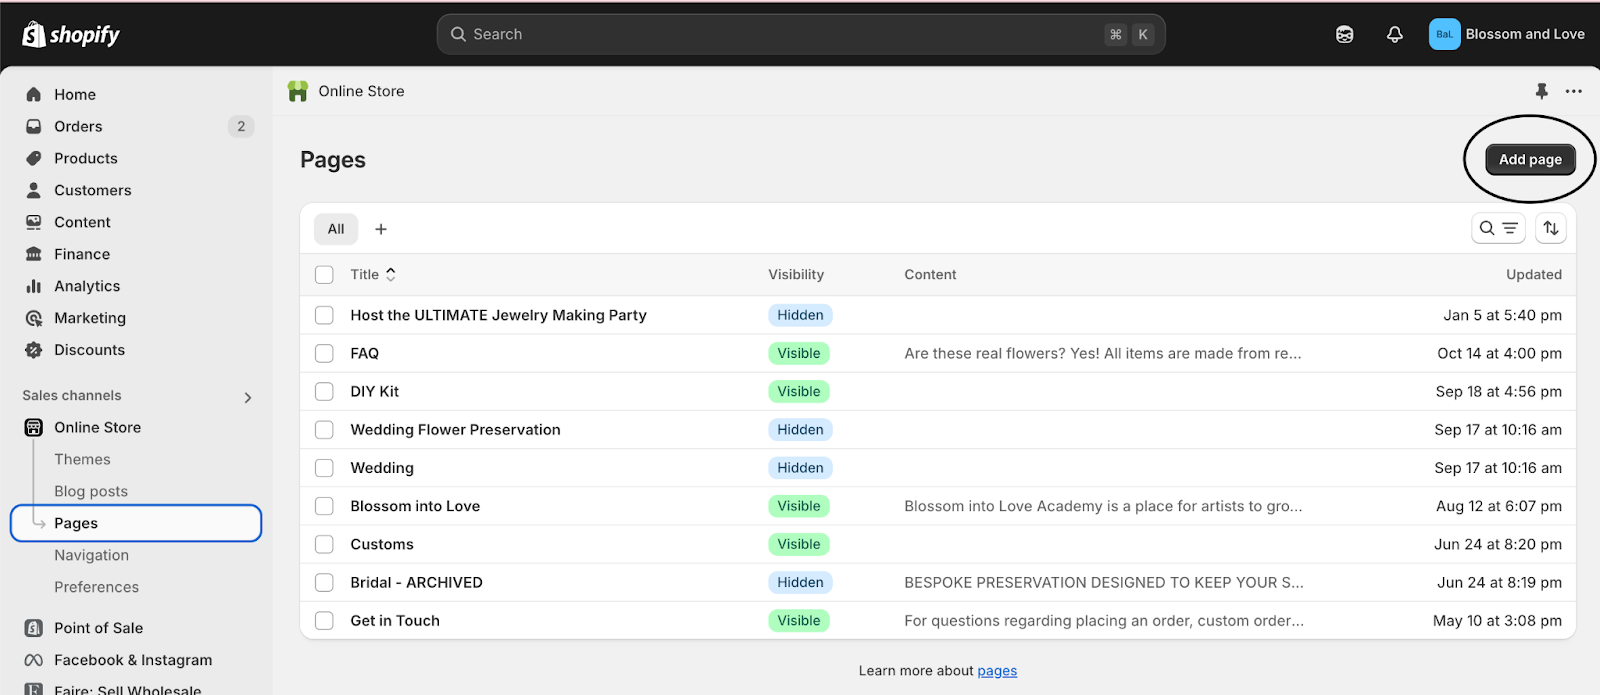
- Click “Add Page”
-
At the top right of the Pages section, click on the “Add Page” button. This will open a new page editor.
- Create Your Page
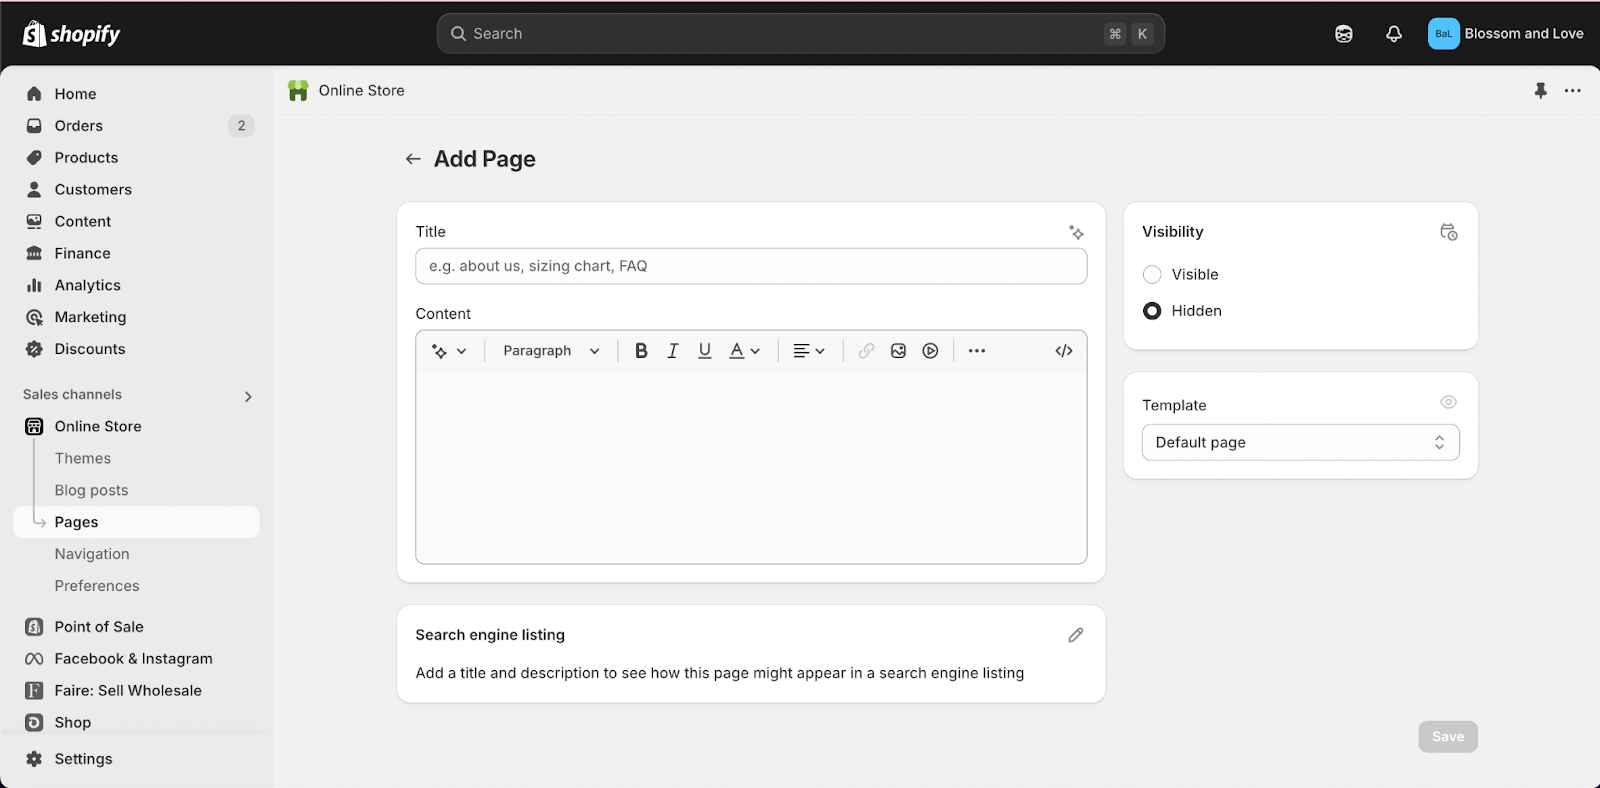
- In the page editor, you’ll be able to enter a Page Title (e.g., "About Us," "Contact," "Shipping Information").
- Below the title, you’ll have the Content section, where you can add text, images, and other content. You can use the rich text editor to format your content (bold, italics, add links, etc.).
-
If you want to add any custom HTML, click on the “Show HTML” button in the content editor. This ia advanced and not needed to start.
- Set Page Visibility
- On the right side of the page editor, under Visibility, you can set whether your page is Visible (published) or Hidden (draft).
- Click Save once you’re done creating the page. You’ll be able to view your page under the “Pages” section.
Step 2: Creating Navigation for Your Pages
Now that you’ve created a page, it’s time to add it to your website’s navigation so customers can easily find it. Shopify allows you to create different types of navigation menus, such as the main menu, footer menu, or even a custom sidebar menu. Here’s how to do it:

-
Navigate to the Navigation Settings
-
In your Shopify admin, under “Online Store”, click on “Navigation”. This is where you can manage all of your menus.
-
In your Shopify admin, under “Online Store”, click on “Navigation”. This is where you can manage all of your menus.
-
Select a Menu to Edit
- Shopify comes with a Main Menu and a Footer Menu by default. You can choose to edit one of these or create a new menu.
-
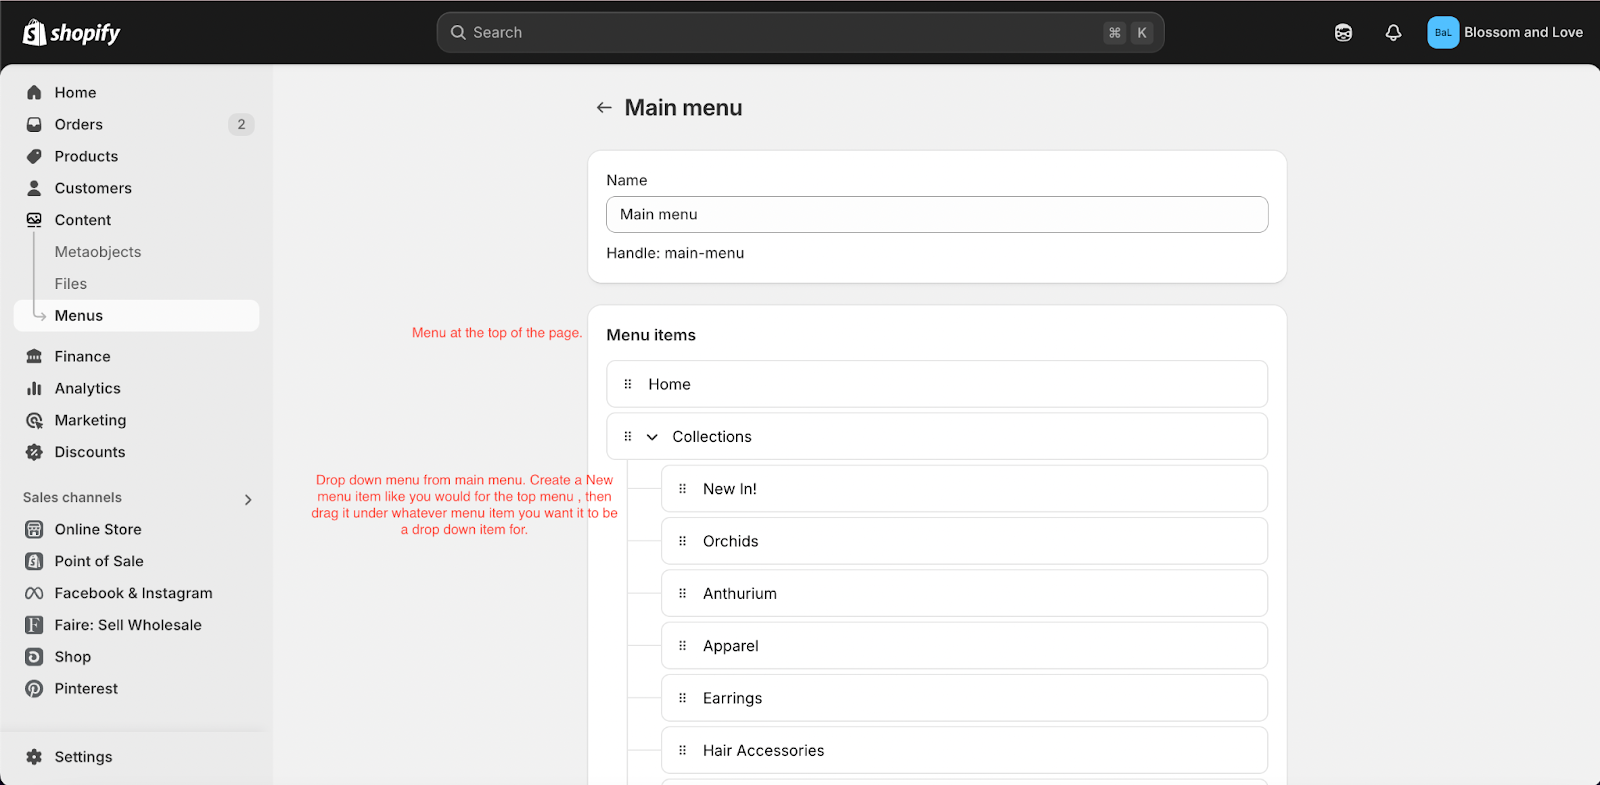
To edit the Main Menu, click on “Main menu”. This is typically the menu displayed at the top of your website. If you want to edit the footer, click “Footer menu”.
-
Add a Menu Item
- In the menu editor, click the “Add menu item” button.
- A new window will pop up asking for a Name (this is what will appear in the navigation) and a Link (where this menu item will lead).
- In the Name field, enter the title of your page (e.g., "About Us").
- In the Link field, click on the “Pages” link to show all the pages you’ve created. Select the page you want to add to the navigation.
- After you’ve selected your page, click “Add”.
-
Arrange Your Menu
- You can reorder the menu items by clicking and dragging them into place. For example, if you want your new page to appear after the “Home” menu, simply drag it to the desired position.
-
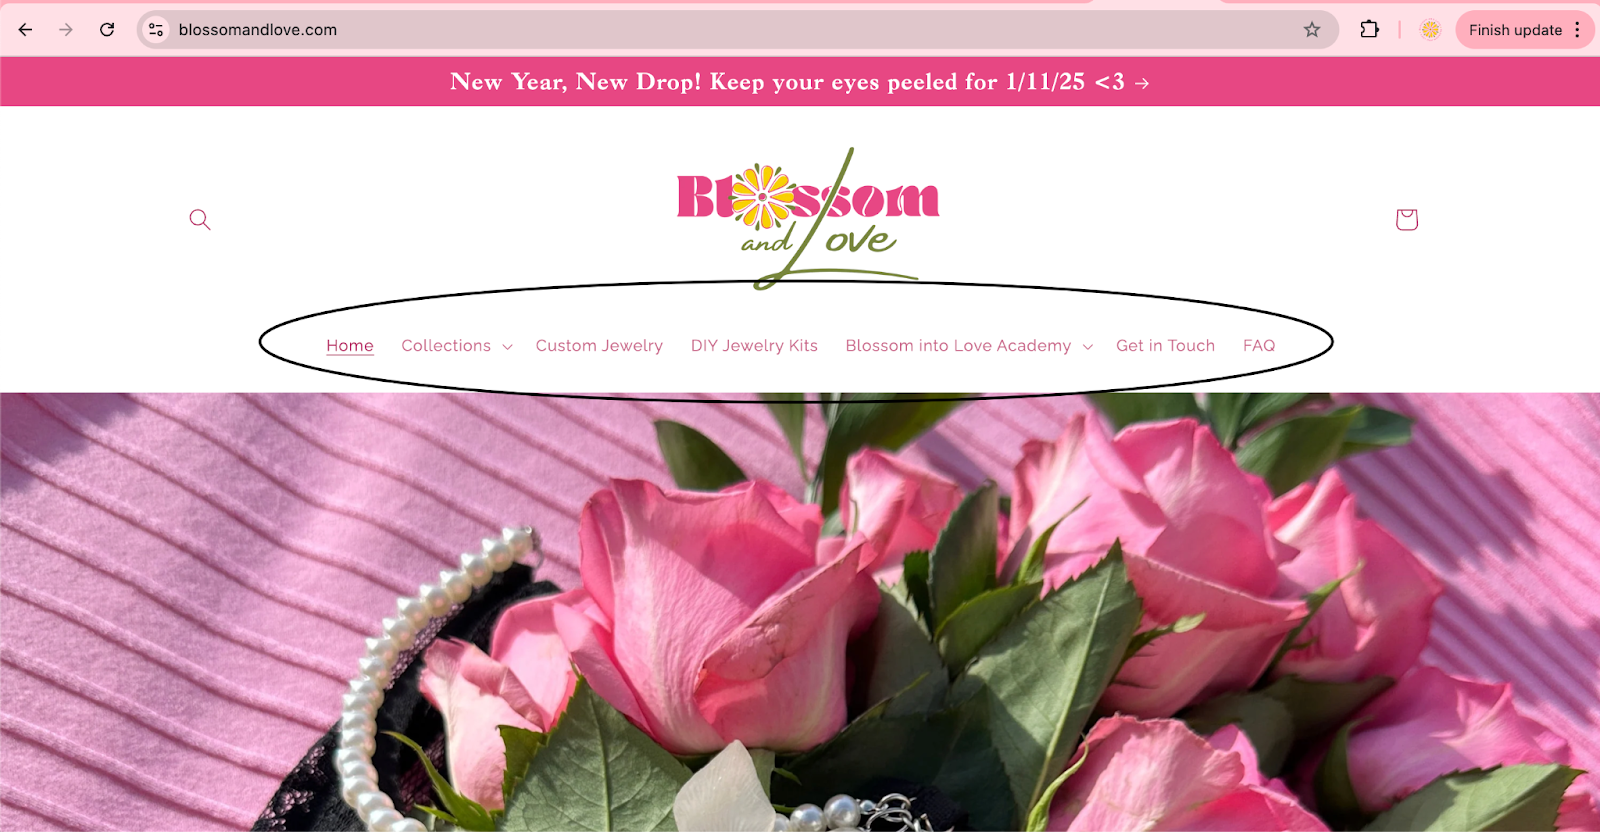
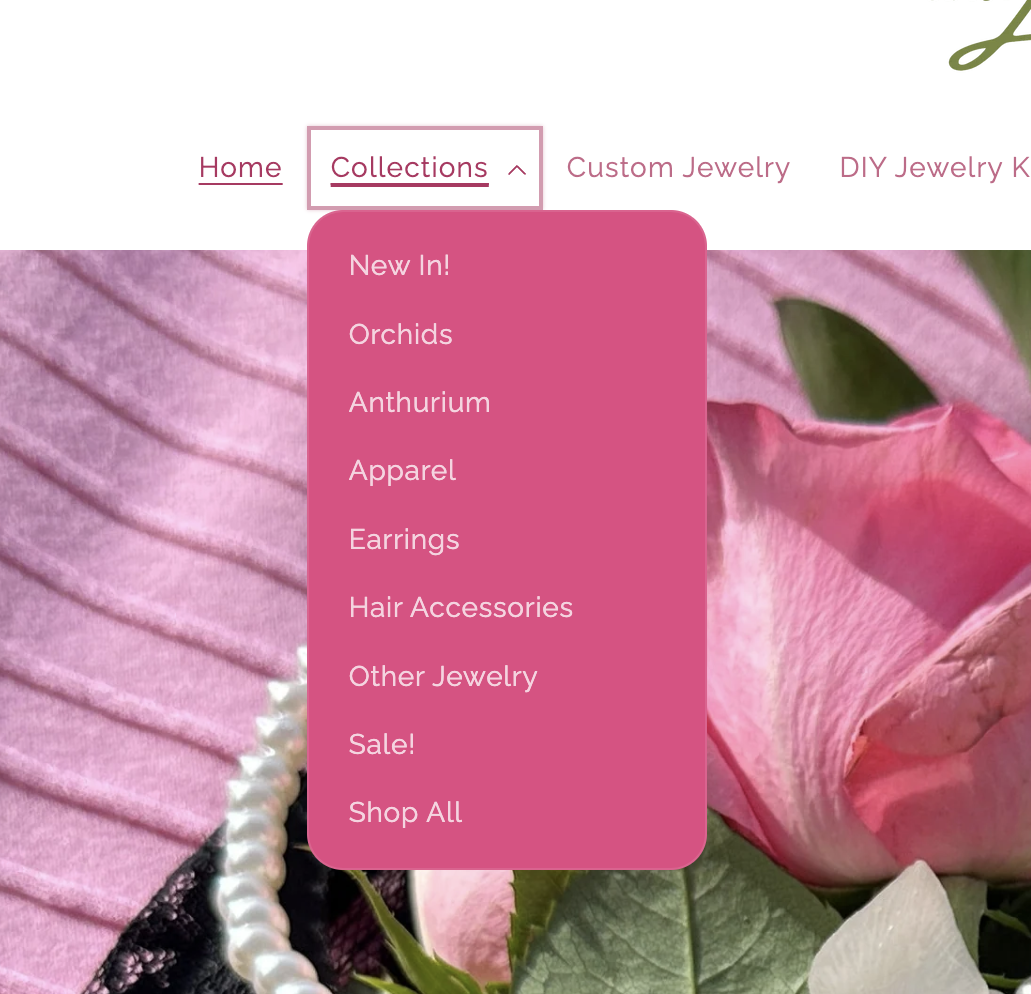
You can also create dropdowns by dragging one menu item under another. This is useful if you have sub-pages that you want to appear under a main category like this picture.
-
Save Your Changes
- After adding the page to your menu and organizing your navigation the way you want it, click “Save menu”.
-
Preview Your Navigation
- To make sure everything looks good, visit your live site and refresh the page. You should see your new page listed in the menu you edited. Try clicking the new menu item to make sure it takes you to the page you just created! If you want to change the look of the display of the menu, follow these steps.

Customize the Appearance of Your Header Menu
The display of your header menu is often controlled by your store’s theme settings. To adjust the layout or style of the header menu (such as font size, background color, or alignment), follow these steps:
- Go to the Theme Editor by clicking “Online Store” and then “Themes”.
- Find your active theme and click “Customize”.

- In the theme editor, look for Header settings. These settings can vary based on your theme, but you should find options to adjust:
- Menu font style/size
- Alignment (left, center, right)
- Background color or image
- Spacing and padding around menu items
- Change the layout and location of your menu by clicking Desktop Menu Type.

- Select your desired view.

- After adjusting the settings to your liking, click “Save” to apply the changes to your store.
Step 7: Preview Your Changes
Once you've updated your header menu, it’s time to preview your changes:
- After saving your edits, go to the front end of your store to see how the changes look.
- Check the mobile version of your store as well to ensure the menu is responsive and looks good on smaller screens.
Step 8: Test Your Navigation
Make sure all the links in your header menu are working properly. Click on each menu item to confirm they lead to the right pages. Additionally, test the dropdown menus (if applicable) to ensure they function smoothly.
Bonus Tips for Improving Your Header Menu:
-
-
-
- Keep It Simple: Aim for a clean and simple menu layout. Too many items can overwhelm visitors. Consider grouping similar pages into dropdown menus.
- Prioritize Important Pages: Make sure the most important pages — like Shop, About Us, and Contact — are easily accessible.
- Add a Search Bar: If your store has a lot of products, adding a search bar to the header can make it easier for visitors to find what they’re looking for.
- Optimize for Mobile: Make sure your menu looks great and is easy to navigate on mobile devices. Most Shopify themes are responsive, but it’s always a good idea to check.
-
-
Tips for Optimizing Your Pages and Navigation
- Be Clear and Concise: When naming your pages and navigation items, make sure they are easy to understand. Avoid long or confusing titles. For example, instead of “Our Company Story and Values,” try simply “About Us” or “About the Artist”
- Group Similar Pages: If you have a lot of pages, consider creating dropdown menus to group related pages. For example, a "Customer Service" dropdown with links to "Shipping Info," "Returns," and "Contact Us."
- Mobile-Friendly Navigation: Shopify’s themes are generally responsive, meaning they will automatically adjust for mobile users. However, always check how your navigation looks on mobile devices to ensure it’s easy for customers to find the pages they’re looking for.
Congratulations! You’re Ready to Go!
That’s it — you’ve successfully created pages on your Shopify store and set up navigation to help your customers easily find them! Whether you’re adding an “About Us” page, a “Contact Us” form, or a blog, these steps will help make your site user-friendly and fully functional.
Next Steps:
- Keep creating pages to add important information and content to your site.
- Regularly update your navigation as your store grows and you add more products or information.
- Use Shopify’s SEO features to optimize your pages so customers can find them through search engines.
- Having trouble knowing what to write? Do some research on your favorite websites! See what they have in their about sections and then write it in your own way. Chat GPT can help you make it sound all pretty. Type in the phrase: “write me an about section for my website with the following information” and add all relevant facts about yourself you want your audience to know. Location, stories about how you found your craft or business and what inspires you are all great things to put here!
If you ever need more help, don’t hesitate to visit the Shopify Help Center or reach out to Shopify’s customer support. They are super quick to respond.
Now go ahead and make your store shine! 🌟
If you’ve been waiting for a sign, this is it. Take the leap. The world needs your creativity, and I’m here to help you get there.
Need more help?
👉 [Schedule your consult with me today and let’s get started!] 👈